Volumetrics
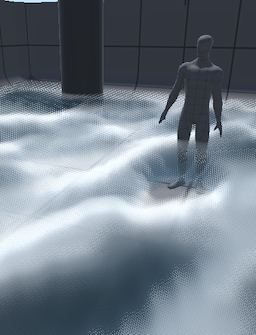
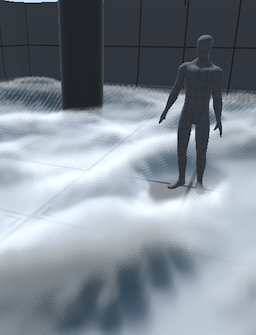
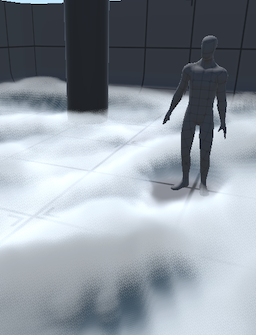
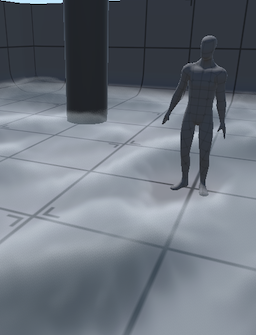
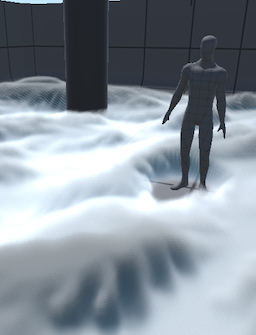
Oftentimes in realtime graphics, all that's visible of objects is their surface. The term "volumetric" refers to rendering volumes instead of surfaces. In volumetric rendering techniques, light is attenuated by the volume as light rays traverse it on their path to the camera.
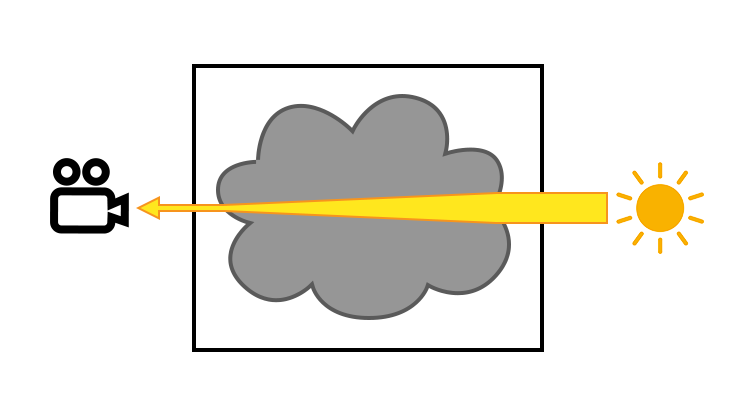
The denser the volume and the longer the path taken by the light ray, the more light will be attenuated. This is a realistic way of rendering fog, smoke, and similar effects. However, volumetrics are costly to render so you should be careful when using them.
Setting up a volumetric container
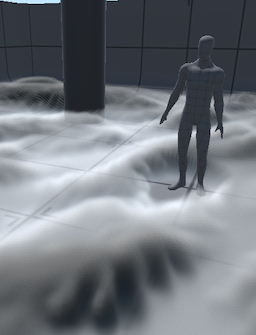
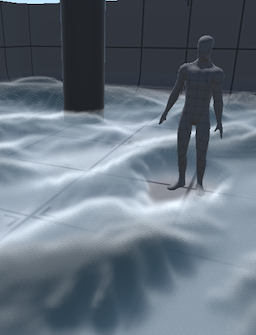
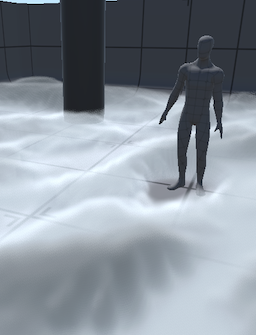
Any FluXY container can be set up for volumetric rendering by selecting "Volume" as their container shape. This will turn the container into a rectangular prism / cuboid that defines a volume:

Since FluXY uses 2D data to render a 3D volume, it's also recommended to scale down the container in the Z axis. This will make your volume look more compact and help sell the 3D look of an otherwise 2D simulation.
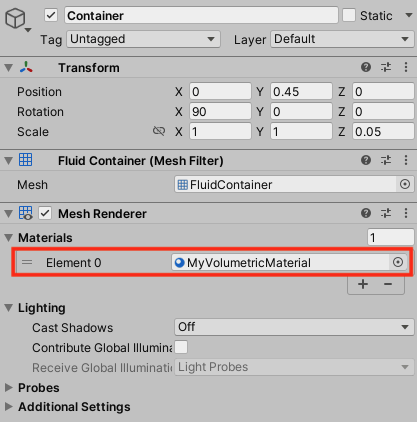
All that's left to do is use an adequate material to render it. Create a new material, and then select "ShaderGraphs/Fluxy Volumetric" as its shader. This is a ShaderGraph shader that can be compiled for URP and HDRP, you can find the ShaderGraph file at FluXY/Samples/Resources/Shaders/URP/FluxyVolumetric.shadergraph:

Then, assign this new material to the container's MeshRenderer component:
You will also need to make sure your render pipeline generates a valid depth texture, for the volumetrics to intersect with scene geometry properly. For instance, in URP this is done by enabling the "Depth Texture" checkbox in your URP asset.
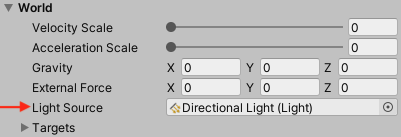
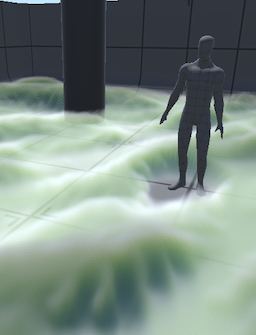
By default, volumetric containers are unlit. Optionally you can instruct the container to pass lighting data from a single light source to the material, by selecting a "light source" in the "World" section of the container inspector:
Volumetric material
The volumetric shader included with FluXY uses raymarching to render volumes. As the name implies, this technique marches along light rays sampling the density data at each step to determine how much light reaches the camera.
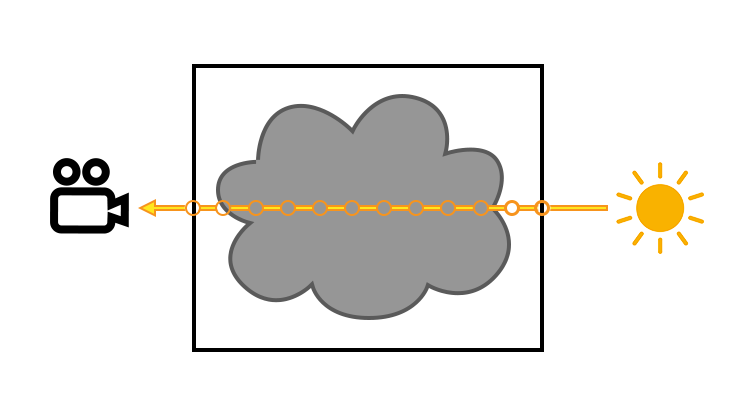
Since light rays can scatter (bounce around) inside the volume, in practice only a handful of them will actually hit the camera lens and contribute to the final appearance of the volume. To avoid wasting work on rays that will never reach the camera, FluXY uses a simplified system that assumes rays always go from the light source to the camera, scattering (bouncing inside the volume) exactly once. This is called single scattering.

As a result, the material differentiates between marching from the light to the volume (before the scatter event) and from the volume to the camera (after the scatter event). With this basic information in mind, let's take a look at the included volumetric material parameters:

numSteps
Controls the amount of steps taken when marching a ray towards the camera. More steps will yield higher quality, smoother results, but at a performance cost.

lightSteps
Controls the amount of steps taken when marching a ray from the light to the volume. More steps will yield better lighting, but at a performance cost.

Using a handful of steps along each ray generates banding artifacts, but using many steps negatively affects performance. FluXY uses a low-discrepancy offset sequence to hide banding and turn it into high-frequency noise. This allows you to get acceptable results using very few steps.
densityScale
Scales the density of the volume. High density scales will make the volume look more opaque, low density scales will make the volume seem more transparent.
densityThreshold
Once we know no light will reach the camera trough a particular light ray, the shader can stop marching along it to avoid unnecessary work. The density threshold controls what's considered "fully opaque" and allows raymarching to stop early.

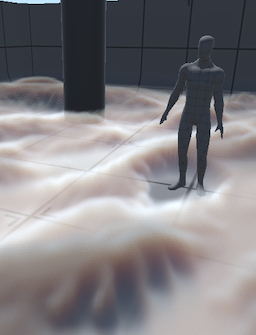
ambientColor
Color of the ambient light used to render the volume. This is approximated as light coming straight down from the sky.

ambientDensity
Scales volume density for ambient light rays. Higher values will make it harder for ambient light to penetrate the volume.
shadowExtinction
Shadows in the volume will bias towards this color.
shadowDensity
Scales volume density for direct light rays. Higher values will make it harder for direct light to penetrate the volume, resulting in more defined shadows.
shadowThreshold
Simlar to densityThreshold, but for direct light rays.

volumeOffset, volumeExtrusion, volumeFalloff
To render a volume, the material needs to know a density value at each point inside the volume: that is, 3D density data. When talking about volumes, so far we've omitted the fact that FluXY performs fluid simulation in 2D so we only have 2D density data available.
To fill in the missing third dimension, the included volumetric shader treats 2D density data as a "slice" and extrudes it. Higher density values are extruded further into the 3rd dimension. This is conceptually similar to how terrain engines give volume to a plane by using a heightmap.
You can offset this 2D slice along the Z axis of the container, and you can control the amount of extrusion and density falloff in the Z axis:
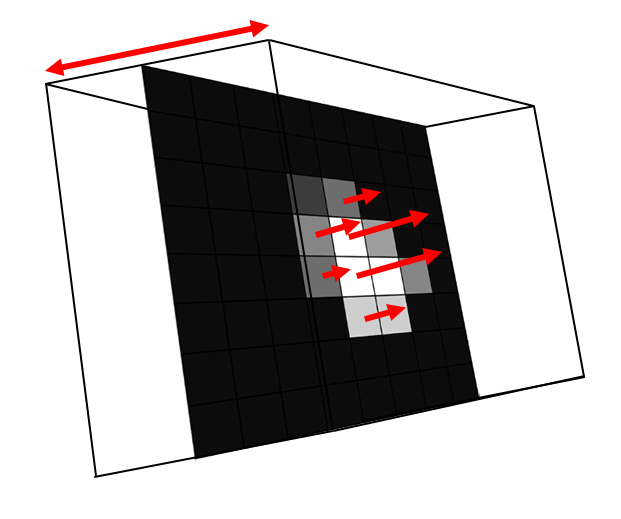
- volumeOffset
- offsets the 2D density slice along the volume's Z axis.
- volumeExtrusion
- controls the amount of extrusion, making the volume thinner/thicker in the Z axis.
- volumeFalloff
- Smoothes out density values in the Z axis.
Enable noise
Enables volumetric noise. This uses a 3D tiling noise texture to modulate volume density, can be used to add additional detail to the volume.
noiseScale
Zooms the noise texture in or out, making noise coarser or finer.
noisePow
Controls noise decay.
noiseAdvectSpeed
Controls the speed at which noise will follow the fluid's velocity field.
noiseAdvectTime
Controls the speed at which advected noise layers will cycle.